Contents
It doesn’t matter if you’re riding to the nearest Target or doing a cross-country road trip with your friends. If you’re sitting pretty on your motorcycle and the wheels on that thing start rotating, you’d best wear a helmet. Lest you won’t be sitting very pretty for long.
But you’re smart enough to know not to do that. So are most people. Because motorcycle bikers wear helmets everywhere. And for good reason.
A compilation of four studies concluded that helmets reduced the risk of death by 42%. Furthermore, a summation of six other studies concluded that helmets reduced the risk of head injury by 69%. The stats don’t lie: helmets are literal lifesavers. And you should wear them all the time.
However, one of the side effects of wearing these bad boys all the time isn’t very pleasant. Which, as you can tell from the title is the odor emitted from the confines of thine scalps.
Sebum is a natural oil produced by your sebaceous glands, the stuff that makes your head sticky when you skip the shampoo for a couple of days.
Combined with sweat, grime, and other things nasty, it results in a smell that makes you wince right before you slip your helmet on.
It doesn’t matter if your motorcycle helmet is full-face, open-face, or modular. Helmet smells are the result of the inner lining trapping all kinds of funk. The kind that results from a mixture of your scalp funk, dehydrated breath, and sweat on your face.
Which this article was curated to help you mitigate. So fear not.
Do yourself a favor and keep reading to find out everything you need to clean your helmet.
Different Parts Of Your Helmet

Why did we spend 250 words of costly typewriter ink explaining the anatomy of a biker helmet in an article about cleaning one? Because different parts of your helmet need to be cleaned in different ways. And it’s imperative you know what those parts are.
(P.S. We were being sarcastic about the typewriter ink.)
Also, it’s good practice to know different parts of the thing you’re dealing with on a visceral level. In fact, my granddad made my dad clean his car with a bucket and a towel every time they drove together, back when my dad was first learning how to drive.
Because according to my granddad, you learn to drive much better when you get to know the thing you’re driving on a more visceral level through activities involving heavy physical contact such as car washing. Which, according to my dad, turned out to be absolutely true.
(Now, I don’t know if my granddad was trying to trick car washes out of his gullible teenage son, but I do know that it isn’t a good idea to bring stuff like this up when the person telling you this is riding a heavy wave of nostalgia and Bourbon.)
Hence, keeping the wisdom of my late granddad in mind:
The Exterior Of Your Helmet
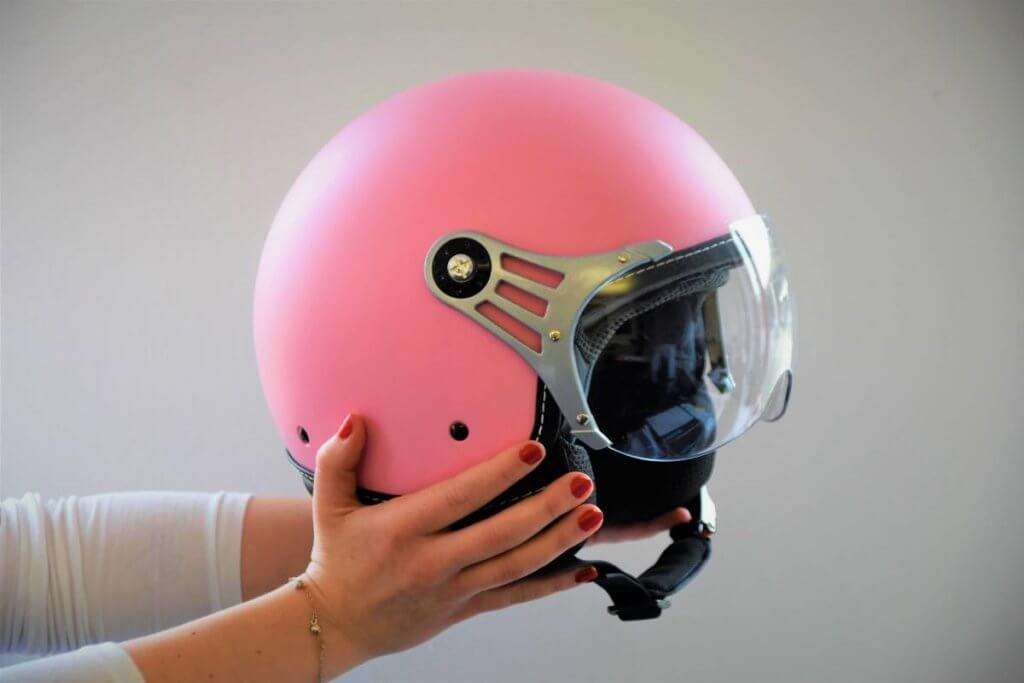
Shell
The outermost part of your helmet is designed to absorb as much impact as possible in the event of a crash. Usually composed of fiberglass, polycarbonate, or kevlar.
Vents
Included for air ventilation so your head isn’t cooked inside your helmet while riding. You can usually find them on the chin bar, the back of the helmet, or over the brow.
Some helmets come with adjustable vents that can be opened and closed (comes handy in winter).
Visor
The adjustable face-shield that guards your eyes and face against dust, unpleasant air particles, and harsh sunlight.
Closure System
The closure system refers to the chin strap that helps keep the helmet in place and the parts that help tighten the chin straps (which usually consists of two D rings).
The Interior Of Your Helmet
EPS Liner
A thick, high-density foam that is also intended to be a second layer of protection for your helmet. After the shell that is.
While the shell is designed for impact absorption, the EPS liner is designed for shock absorption.
Comfort Liner
As opposed to the EPS liner which is included for protection purposes, the primary purpose of the comfort liner is to make sure that the helmet fits comfortably on your head. The material is also usually anti-bacterial and designed for wicking sweat away.
Cheek Pads
Made of the same material as the comfort liner, cheek pads help guard against your helmet violently moving the side in the case of a crash.
Should I Use An Odor Eliminating Spray?
We recommend against using any chemical sprays like Febreeze to clean the inside of your helmet.
Now, sprays aren’t particularly harmful to you. But in middle school, a lot of us tried using Axe to mask the smell emanating from our overworked sweat glands post-gym class. And failed.
Same logic here. Using a spray is akin to trying to treat deep wounds with a bandaid.
But a better stop-gap would be spritzing a bit of white vinegar on the helmet linking. Stressing on stop-gap. This should be your last AND temporary option until you get the opportunity to do the rest of what we’ve mentioned in the article.
Items To Keep In Hand Before Cleaning Your Helmet

Arranging the following items don’t just help keep your helmet smell fresh, they also make sure that your helmet lasts as long as it should. Most of us have no patience and tend to freestyle on cleaning products without doing the requisite research. One of the reasons why most people unintentionally reduce the lifespan of their products.
And we don’t want you to do that with your helmet. So keep the following in hand before you begin cleaning:
You’re going to be using microfiber rags to help both soak up and clean the caked-on dirt and gunk present on the helmet exterior. Make sure to use clean rags!
Toothbrush
To reach and clean parts of your helmet that the microfiber rag cannot.
A gentle, non-petroleum based shampoo to clean the helmet interior with. It’s imperative that you don’t use harsh chemicals. Baby shampoos- think Burts Bees- are good too.
A Tub Of Warm Water
Lukewarm water gently loosens dirt and dead bugs while also ensuring that the helmet particles have no chance of sustaining any harm at all.
Make sure to fill a tub of adequate size with lukewarm water prior to cleaning. The tub should be big enough to soak your helmet interior in.
This is to blast the gunk stuck inside the vents on your helmet away. Wet cotton balls help too.
Cleaning A Helmet With A Removable Inner Lining

Most helmets come with an inner lining that you can segregate. If you don’t have such a helmet, go to the next section.
But if you do, do the following. Carefully.
Keep in mind to follow these steps carefully:
1. Segregate internal electronic accessories
A lot of people tend to skip this stage. Modern helmets tend to come with tech that isn’t very visible at first. But before you wash a motorcycle helmet, do a thorough patting-down of your helmet interior to detect all electronics inside. Such as:
- Microphones
- Antennas
- Batteries
- Bluetooth intercom units
Getting The Inside Of Your Helmet Cleaned
2. Remove the interior
Take out the comfort liner and cheek pads from your helmet. While doing so, keep in mind to pay attention to how they were secured prior to removal. This is going to help make repadding much easier.
If you’re confused, go through the helmet manual provided by the manufacturer. All the information you need would be provided in detail.
3. Clean the interior
Empty the non-petroleum based shampoo into the tub. After which you should dunk, scrub, and massage each piece of your helmet liner in the lather.
Exercise adequate care for this part: you want all the face sweat, scalp sebum, and other nasty stuff to be removed.
And trust us: if you haven’t done this in a long while, you’re going to discover a lot of this nasty stuff.
Getting The Outside Of Your Helmet Cleaned
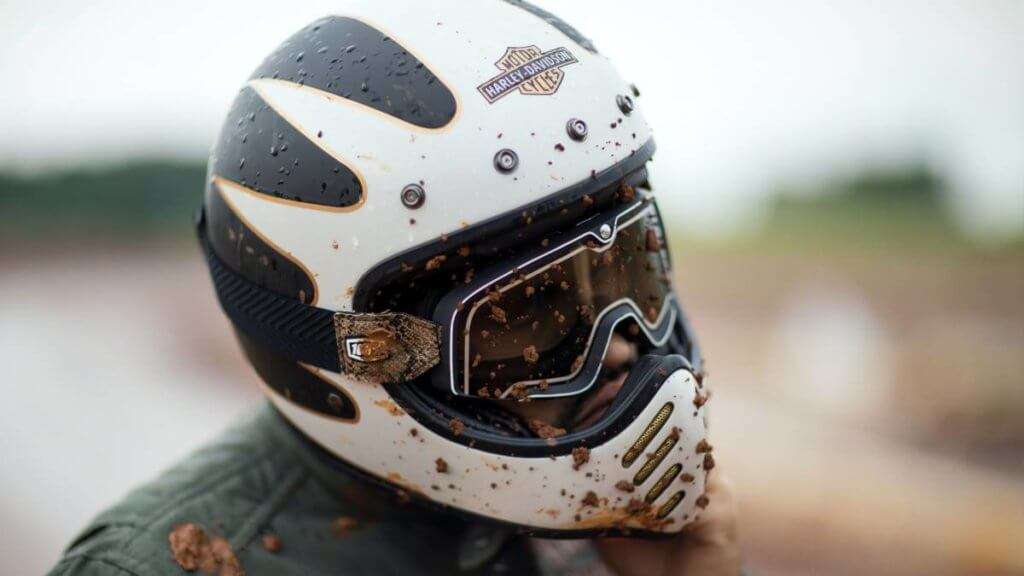
4. Preparation, preparation
Now empty the tub and make sure to get rid of all the remnants (or just get another tub if you have one). Fill it with lukewarm water again. Separate the visor.
5. Drape the microfiber towel over the helmet for a while
Soak the towel in warm water (without any lather- soapy stuff and helmet shells don’t usually bode well) and drape it over the helmet. Leave it on for a while: this is to dislodge stuck-on gunk and reduce the effort needed to clean it later.
6. Now clean the helmet exterior
Get another microfiber tab (don’t use the one from before). Reiterating: DO NOT use any cleaning agents. Certain solvents are known to cause damage to helmet exteriors.
By now, after draping with a wet lukewarm rag, a lot of the bug guts and harder gunk would have become much easier to clean and dismantle. Gently work your way around the helmet with the rag (make sure to not apply any pressure- it will cause swirls on the helmet).
After this, 95% of your helmet exterior is clean. The remaining 5% consists of the hard-to-reach places: this is where your toothbrush helps.
7. Optional: use the air-compressor to blow out the gunk from the vents
If air compressors aren’t an option (DO NOT USE LYSOL, aerosol can damage your helmet’s EPS liner), moist cotton swabs get most of the job done.
8. Clean the visor
The visor comes with its own protective layer for shielding against ultraviolet light. When cleaning, make sure to be just as gentle and careful with the pressure applied as you did with the helmet shell.
In fact, the steps to follow to clean your helmet visor are the same you followed to clean your helmet shell:
- Drape a microfiber rag over it
- Gently wipe away any dirt, dust, or smudges
Repadding The Helmet Liner After Cleaning
Let your liner and cheek pads air dry. After they’ve dried sufficiently enough, place them back inside the helmet.
A light application of automotive wax will make future cleaning much easier. And for the visor, lightly lubricating the hinge with silicone lube if required.
If Your Helmet Doesn’t Have A Removable Liner
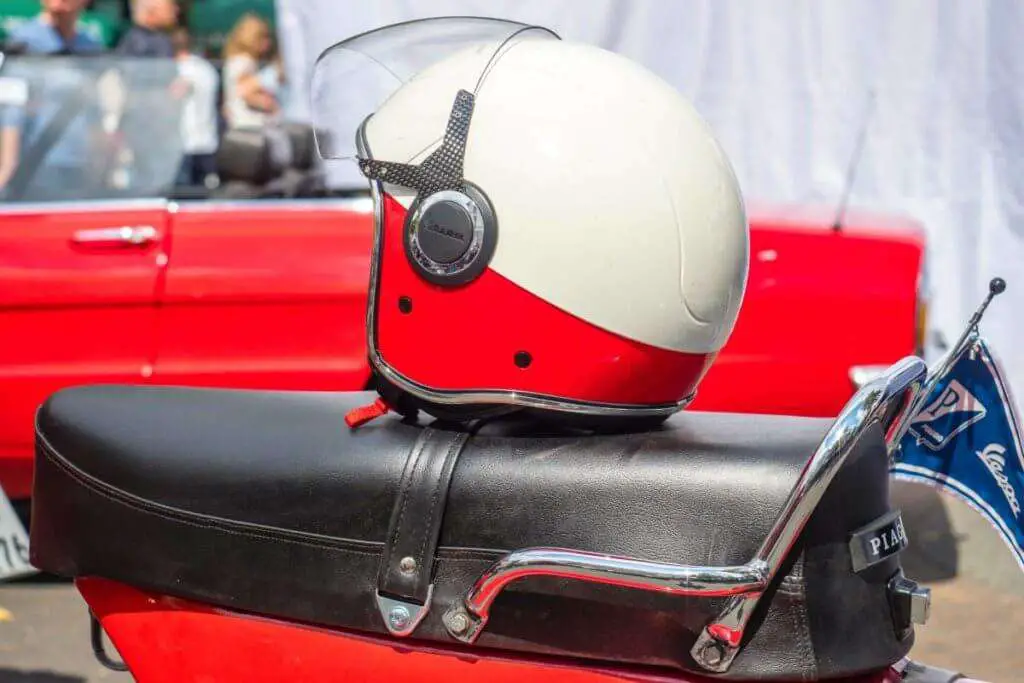
Now, if your helmet doesn’t have a removable liner, you’re going to have to take a somewhat different approach to clean it.
Remove all electronic accessories and separate the visor. Cheek pads too if possible.
Line the bottom of the tub with a towel so the exterior doesn’t accidentally scratch up on the bottom. Now dunk the helmet inside it. Let it soak for a few minutes: you want all the nasty stuff to break down. After which you should rub any and all visible spots on the shell with your fingertips to remove the hardened gunk. Pat down the interior lining.
For the vents, the same as above: air compressor if present, wet cotton swabs if not.
After you take the helmet out, pat the shell and exterior dry with a dry microfiber rag. For the interior liner, drying at room temperature is enough: DO NOT use a hairdryer or similar heating device.
After which, again as mentioned above, use automotive wax for the shell and silicone gel for the visor hinges if need be.
Clean the cheek pads and visor according to the same guidelines provided above.
Prevention Is Better Than Cure
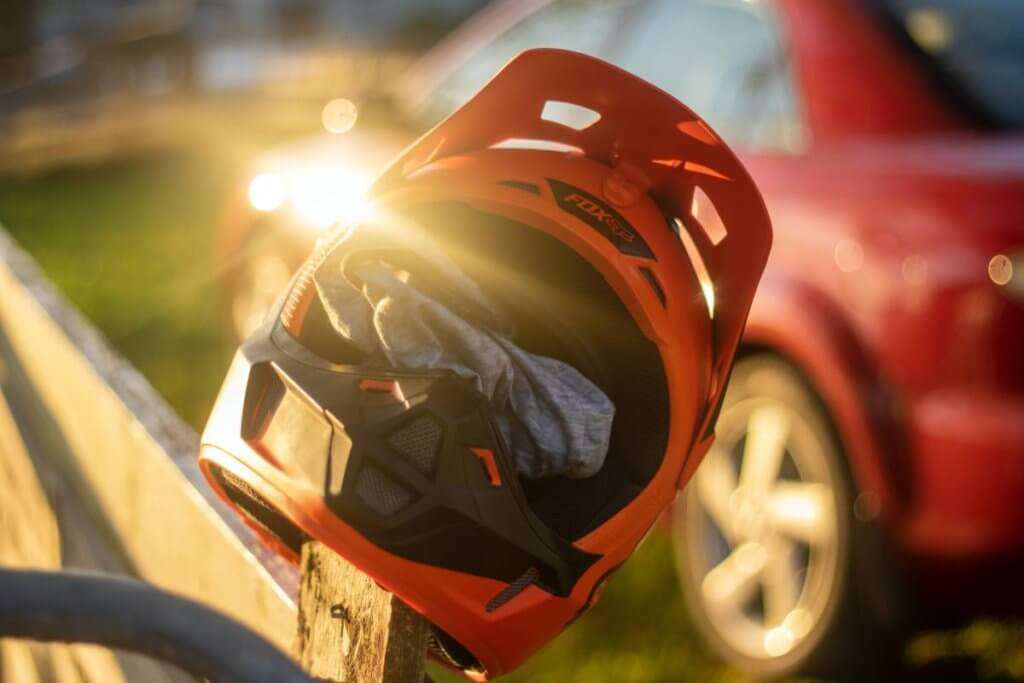
Now that you’ve acquainted yourself with helmet cleaning, you know that it takes longer than it looks. And if you abide by the following, you can reduce how much you need to wash your helmet and keep it in good condition:
- Wear a separate layer underneath your helmet: This provides a physical layer between the head and helmet. It directly blocks the parts of your head producing sweat, sebum, and oils. This is to prevent these things from permeating the interior liner. Making your helmet considerably less stinky.
- A light application of a coat of automotive wax on the shell of your helmet: There’s a reason we suggested doing this above. Applying wax makes bug guts and grime much easier to deal with.
- When going on long rides, carry a pack of cleaning wipes with you: This is so you can wipe the bug guts and gunk as soon as possible. Instead of having to deal with their fossilized versions a week later.
- Never scrub your visor: Rubbing things off your visor is a recipe for ugly scratches.
- Air dry your helmet before keeping it in cramped storage: Shoving your helmet right into a bag blocks the air needed for evaporation. This creates an airlocked petri dish of sweat and gunk- and it makes your helmet smell much worse.
Keep your helmet in the open (in a safe place, of course) overnight before storing it in cramped conditions.

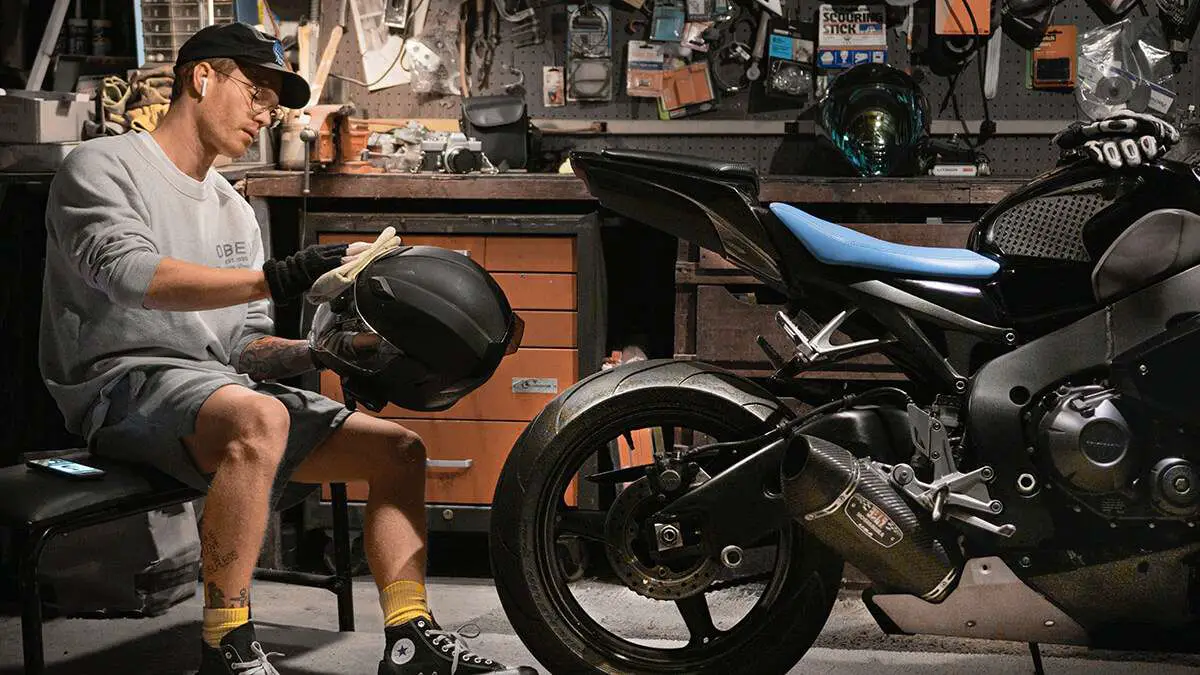
 Ultimate Guide to Types of Motorcycle Helmets
  Can You Clean A Motorcycle Chain With That?
  Why Your Bike Helmet Looks Huge (and What to Do)
  Scared Of Rain Getting Your Visor Wet? We’ve Got You