Contents
You’re here because you’re bored out of your mind and beat for ideas on what things to buy, post-pandemic. We understand we’re stuck at home with nothing to do ourselves. It’s boring, to the point of being frustrating. (That being said, stay home and wash your hands, kids.)
Motorcycle shoes are an expensive investment, especially the quality ones. And you obviously don’t know what to buy, given the surfeit of selection of motorcycle boots 3 seconds of googling will throw at your face.
This is why it helps a lot to know about what you’re buying before you buy it- its past, how it’s made, and how you can make good use of it.
Which is why we wrote you this article.
Compiled from a massive amalgamation of research on many, many boots reviews, statements from top brands, and the certifications of organizations encapsulating the likes of the EEA- this is an encyclopedia. Albeit, a short one.
You wanna stay till the end of this because there’s a lot of misinformation out there- and we took a lot of trouble to make sure you know about the right stuff.
History Of Motorcycle Riding Boots
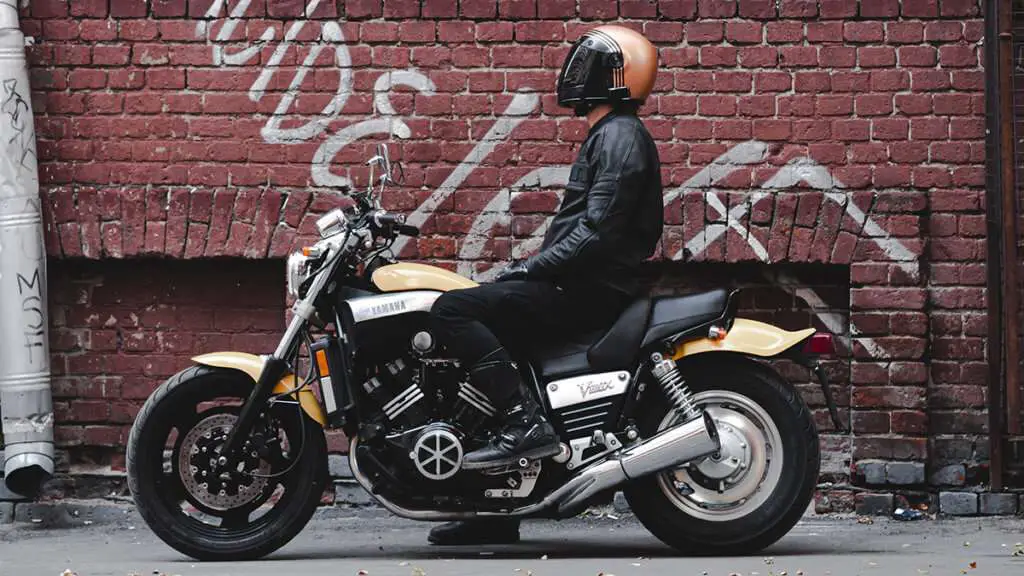
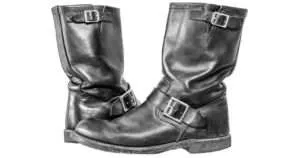
Engineering boots are professional-grade work boots widely used nowadays by engineers doing difficult, rough work.
The design first showed up in harness boots, which was later replicated by the United States Cavalry. It later saw a lot of utility in protective shoes for firemen working on steam railway engines, as the minimal stitching and pull-on design proved best for working in an environment with plenty of hot coal, embers, and sharp edges.
Engineering boots were the prototype for the modern motorcycle riding boot.
Because the period right after World War 2 gave rise to growing motorcycle culture, in large part due to the veterans and young male soldiers returning home from the war. All of whom had a variety of choices for the rest of the body…save for the shoes.
The laceless design of the engineering boots meant no interfering with the drive belts placed on the gearboxes, which were dangerously close to the footrests, and the shafts were well insulated from the heat. The tough, thick leather could take a lot of punches.
No other shoes at the time provided nearly as much lower leg protection, and this was reflected in their soaring sales.
The wildly popular movies The Wild One and Rebel Without A Cause featured Marlon Brando and James Dean wearing these boots, which only further fuelled their popularity.
How Motorcycle Riding Boots Are Made
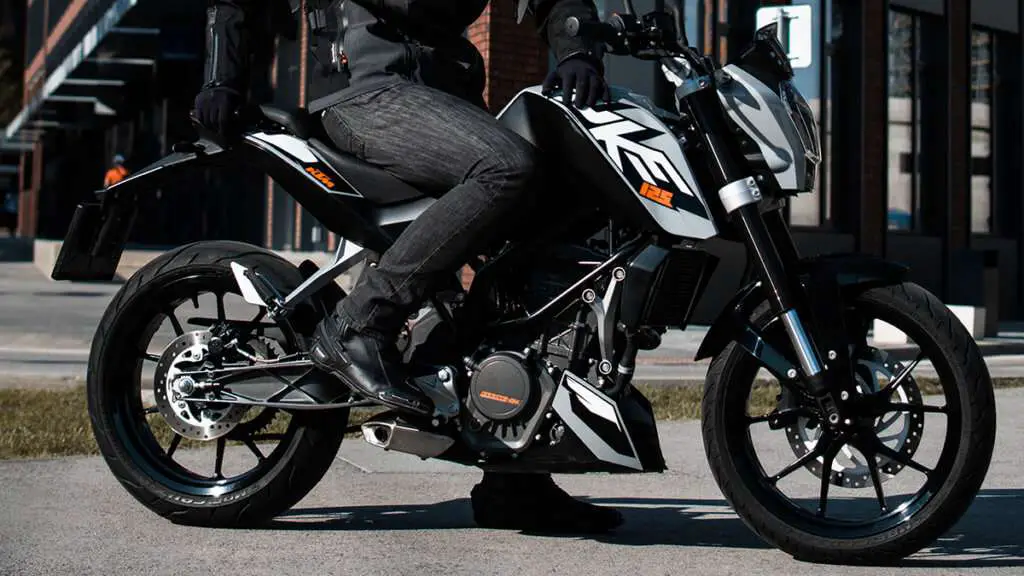
Designing
i) A general idea for the layout of the shoe is drawn by hand
ii) This drawing is then fed into a computer
iii) Using Computer-Aided Design (CAD), an intricate level of detailing is done over the original layout. This is the digital prototype.
This 3D prototype is then separated into various different 2D components of the shoe, each component printed separately.
iv) The computer is connected to a machine that cuts each of these components onto a hard (usually composed of fiber) material.
v) This material is then placed over leather.
The leather beneath is then precisely cut out in the shape of the material, sort of like stenciling.
After which the rougher edges are finished off.
vi) In this way, all the 2D components designed with the CAD program are imprinted and stenciled into leather components.
Stitching And Sewing
vi) Before sewing the different pieces together, the edges are flattened.
This is so that the sewing and stitching at the edges nicely come together.
vii) Some parts of the boot that require more flexibility (like the top) are fit with material that is more thinned out. Other parts that require more sturdiness are fit with more thickness.
The stitching for each individual shoe is done by hand.
Now, the last (a foot-shaped mold that determines the fit of the finished product) of the boot is ready.
Inner Sole
viii) The sole of the foot is then designed onto a material (usually elastic in nature) with exact precision to fit into the bottom half of the last.
ix) With a machine, the last is stretched over and engulfs a material that fits the design mentioned above.
x) The material once engulfed, forms the inner sole. The remainder of the outer foot that is left out is finished and sown over it.
Outer/ Main Sole
xi) Another machine is hooked up to a CAD program containing the precise measurements for the bottom/ outer sole. This also flattens the bottom of the last (with the inner sole) to allow the glue to key in.
xii)The glue is now applied via a half manual/ half automated process. A binder glue is applied with a brush onto both the (still separate) bottom sole and the inner sole/ bottom of the last.
xiii) Both pieces are inserted in a factory oven (at a preset temperature) to reactivate the binder glue applied earlier, making it extremely sticky.
Both pieces are now stuck together by hand (very, very carefully).
xiv) Now the last is inserted into a fridge to cool down the glue so that the stickiness binding the sole cement and the remainder goes away.
Finishing
xv) After it is taken out, another thin sole (for finishing) is attached to the bottom with nails.
xvi) Now, most of the shoe is ready. The remaining areas in the last (designed in the CAD program mentioned in step one) are filled with various bits like plastic designs, metal armor, and steel toe sliders. This is done with an extremely precise, industry-grade, automatic screwdriver.
xvii) Now the quality control checks are performed:
- To find out about any manufacturing defects
- To imprint labels
- To imprint packaging
After which the boot is finally placed inside the box.
A motorcycle boot is made up of bits of plastic (for the zippers), metal (for armor), inner padding (for impact absorption) and the external body that we see on the outside.
It’s a very complex, sophisticated piece of gear that requires all the puzzles in the jigsaw to fit precisely to protect everything from your foot to your ankles safe while keeping them comfortable at the same time.
Which is why contrary to the popular notion most people hold about riding boots being stitched together by robots or machines, they’re actually hand-stitched by extremely skilled professionals
(as mentioned above) who take up very labor-intensive work for over an hour, to stitch just the top of a single boot.
How To Evaluate Riding Boots
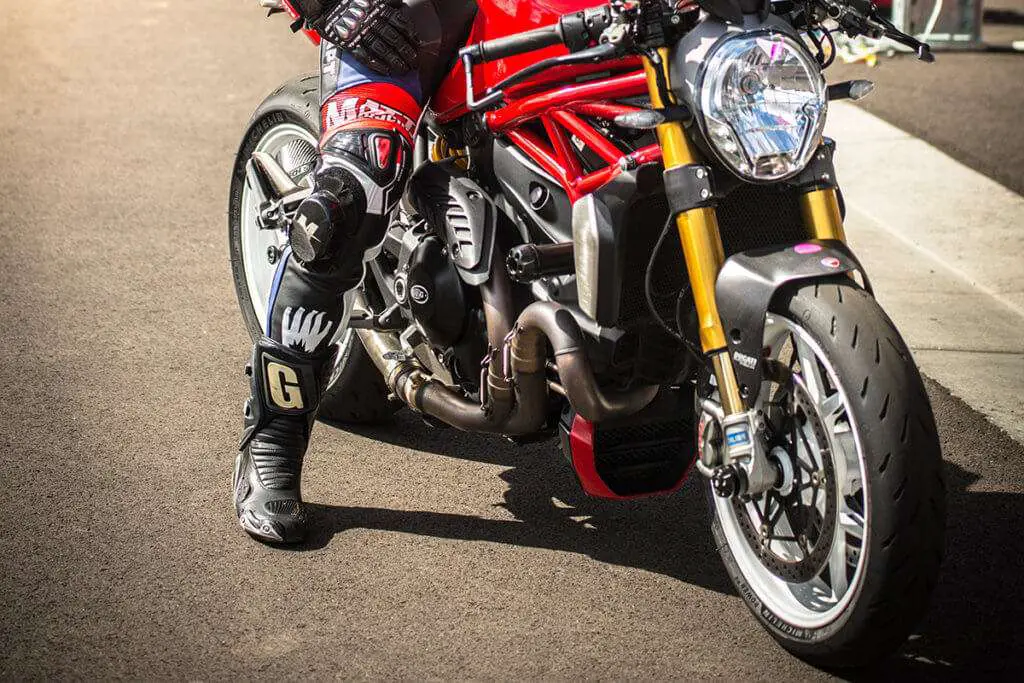
To assuage the quality of your boots, you luckily have some objective guidelines set in stone by folks who know what they’re doing.
The European standard EN13634 is widely considered by safety experts to be the ideal for biker boots. Adhering by this standard means the boots are in compliance with the PPE directive (the law dealing with certifying protective equipment covering all protective gear in the European Economic Zone).
The EN13634 mandates that the boots in question should be tested by a notified body laboratory to verify that it falls under the PPE definition and should be CE marked.
The standard EN13634 covers several important safety parameters including:
– An impact abrasion test (with relatively harsh methods of evaluation)
– A design where the forward-facing seams prevent the boots from opening up in the event of a high-speed slide.
– Transverse rigidity (rigid connection in a body-synchronous movement) must reduce the risk of crashing if the bike falls on the rider.
– Special protection for impact absorption in the ankle and shin.
– Special protection against cuts on the skin.
– Slip resistance of the outer soles.
– The binding strength of the sole to the shoe.
– A minimum top height of the boot, to ensure sufficient protection of the foot and ankle.
– Quality testing of material used to evaluate wear life.
– Evaluation of basic levels of safety for the person wearing.
The results of the testing are then imprinted on the boot in the form of levels to help the user determine how good the product is for them. This is because motorcycle boots are so varied (as you’ll see in the next section). And different types of riding. beget different kinds of shoes. Which in turn begets different levels of protection and design with respect to abrasion resistance/ padding/ impact absorption/ et al.
* Keep in mind that most boots on the marketplace will not meet these standards. Including many that look deceivingly tough, often illegally making claims of safety.
The standards are set for the buyer’s safety and buyers should always look for CE marked boots complying with the EN 13634:2010 (the latest version), with motorcycle pictograms clearly marked on the products.
(The CE marking is a certification mark that indicates conformity with health, safety, and environmental protection standards for products sold within the European Economic Area. )
When broken down
The above may be too much to take in for those of you who don’t have the time, although we still highly recommend you go through it thoroughly.
That being said, the following is the “Is This Boot Right For Me” For Dummies version:
Height
- Should be at least as high enough to cover the ankle
- Construction at top of the boot must be sturdy enough to maintain stability at all speeds
Higher-top boots are stiffer/less comfy but offer way more protection.
Material
- Main areas must contain either thick leather or specialized textile
- Must be abrasion resistant
- Must absorb as much impact as possible
- The material must be breathable, for comfort
- Must offer protection against external elements
- Extra-reinforcement in high-risk areas (toes, ankles et al)
Closure (securing the boot to your lower leg)
- Velcro (medium ease of fitting, somewhat secure fit)
- Laces (easier to fit, not as secure)
- Buckles (most secure, but fit needs to be carefully done)
Soles
- Must be oil resistant
- Softer soles have better grip, but less durable
- Harder solers have less grip, but more durable
Armor
- Different for different kinds of shoes, mentioned below
Different Kinds Of Motorcycle Shoes
Street / Commuter Boots
Commuter boots are the most common type of motorcycle boots.
Simply because you don’t have to change footwear when you get off your motorcycle.
You can both walk and ride in them.
For this reason, they’re also interchangeably called “riding shoes”.
This is also why the most defining aspect of commuter boots is versatility.
That being said, they’re still motorcycle boots. They come with options featuring special soles, armor plating, abrasion resistance, shifter panel et al.
But they don’t come with, say, the shin protection offered by ADV shoes. And most of these shoes barely rise above the ankle.
Good news for you guys- riding shoes are also the cheapest, by far.
Our recommendation: TCX Rush WP
Adventure Touring Boots
Sharing massive overlaps (sometimes completely) with dual-sport footwear, these are the India Jones of motorcycle boots.
Meant for all seasons, terrains, and most unexpected situations (‘adventure’ touring), these boots are sturdy, tough, and are packed with tremendous amounts of abrasion resistance and impact absorption.
They also have softer, more walk-able soles (as it’s highly unlikely you’ll find a Hilton in the middle of nowhere). Insulation and waterproofing are also present, due to the unpredictable nature of the riding conditions these shoes were designed for.
These shoes are perfect for The Road Not Taken, but not so much for the Road You Take To Work Everyday. Because they’re not very comfortable to walk in. That’s what commuters are for.
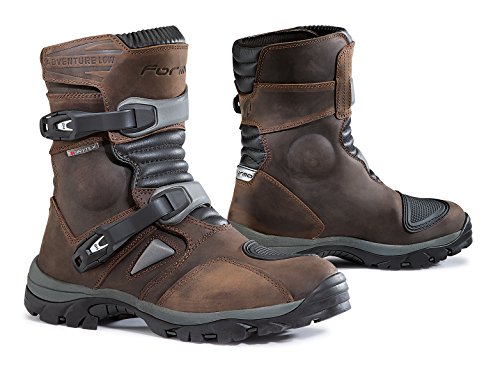
Our recommendation for Adventure Touring Boots: Forma Adventure Low Boots
Off-Road / Motocross Shoes
Off-road riding begets shoes that are the toughest of the tough. If Adventure Touring boots are Indiana Jones, motocross boots are Chuck Norris.
You’re going to be riding your motorcycle on all things, not asphalt, for a good part of your trip. And non-asphalt means a lot of things: dirt that you can sink into, rocks that can sink into you, and other objects both inanimate and (hopefully not) non-inanimate. Or whatever the word for the opposite of inanimate is.
Off-road riders have to put their feet down a lot, and the things listed above are what these shoes were designed for.
Which is why they’re extremely stiff, tough and rigid. Good for impact, but not good for ballet class. Think of the first time you tried to walk with ski shoes. Same thing.
Buckles also make sure the shoes stay where they’re supposed to at all times.
Keep in mind that you’re not going to get a lot of use out of these bad boys off the motorcycle.
But off the road and on your motorcycle is where motocross shoes thrive.
With plenty of ventilation and some GORE-TEX models for waterproofing, these shoes help keep your feet cool. A necessity in a venture as hot and humid as dirt riding.
Our recommendation for Off-Road Boots: Alpinestars Tech 7
Cruiser
Cruisers are the most stylish of them all. With a huge selection of options for both fashion and utility.
Flexible and suited to forward-bias footpegs, these are functional both on and off the bike.
Kind of like commuters.
Which is why utility wise, cruisers are very similar to commuters.
These boots should be covered in either full- or top-grain leather.
The former will develop a natural patina over time, the latter will look as good as new all the time.
This being leather, we highly recommend against wearing them in hot weather. If you can’t help it, get perforated cruisers or ones with a lot of textile in them. Cruisers can be short, mid or full-length. Shorter options are cheaper and easier to walk in, longer shoes are safer.
Our recommendation for Best Cruisers: Alpinestars Andes v2
Racing Shoes
Racing shoes have to deal with two things:
- How fast you ride
- How safe you are while you ride
No brainer, right?
But, depending on whether you’re using them at your local track or at the Grand Prix, as a hobby or for competition, and among many other things, the kind of racing shoe you want depends on two things: speed and strength (or safety).
For speed, boots need to be lighter, stiffer, and more twitchy. For the best handling and speed. The soles are smooth for touch sensitivity. Toe sliders are present as well.
The calf should perfectly fit your form and also cover the racing pants you’re wearing. The ergonomic design must keep them in a tuck position with foot pegs that bias towards the rear.
For safety, they should have the most abrasion resistance, impact absorption, and structural rigidity. Replaceable armor panels should be present too in the unfortunate case of a crash so that you save your money on not buying a whole new boot. (You can tell by searching for screw heads on the boot’s exterior)
We’re not qualified to comment on boots to worn in competitions, due to the intense scrutiny these shoes are subject to by experts
But for general purposes, this is what you need to keep in mind.
Our recommendation for Racing Boots: Sidi ST




 12 Reasons Motorcycle Boots Are Worth It
  Top 5 Motorcycle Boots for Any Weather
  3 Women’s Motorcycle Boots in 2019 Reviewed
  Ultimate Guide To The Best Motorcycle Riding Gear For Beginners