Contents
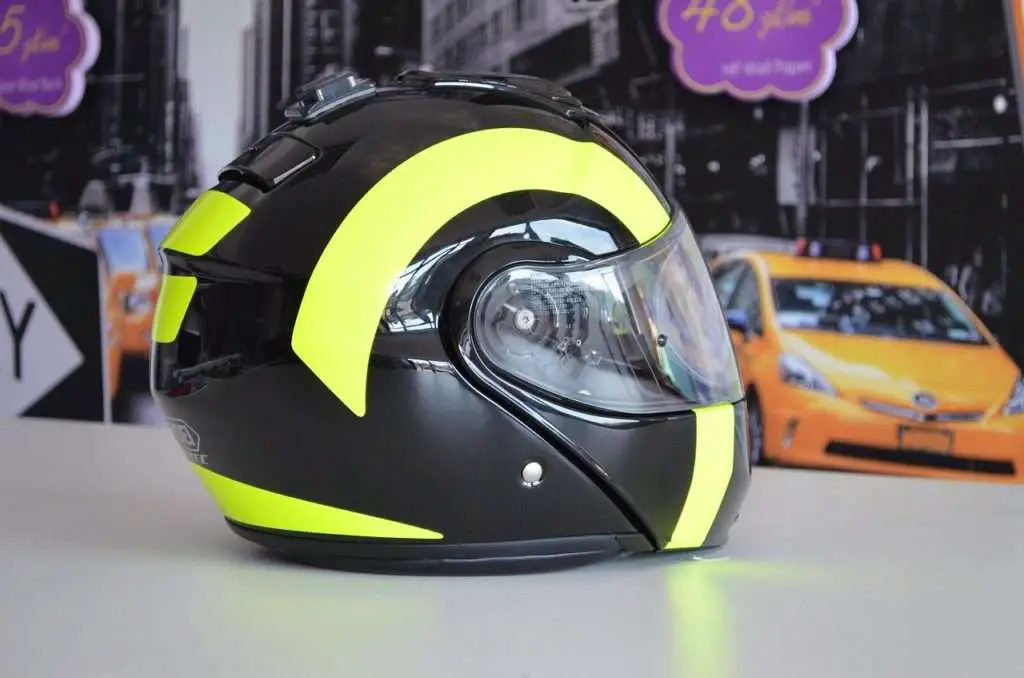
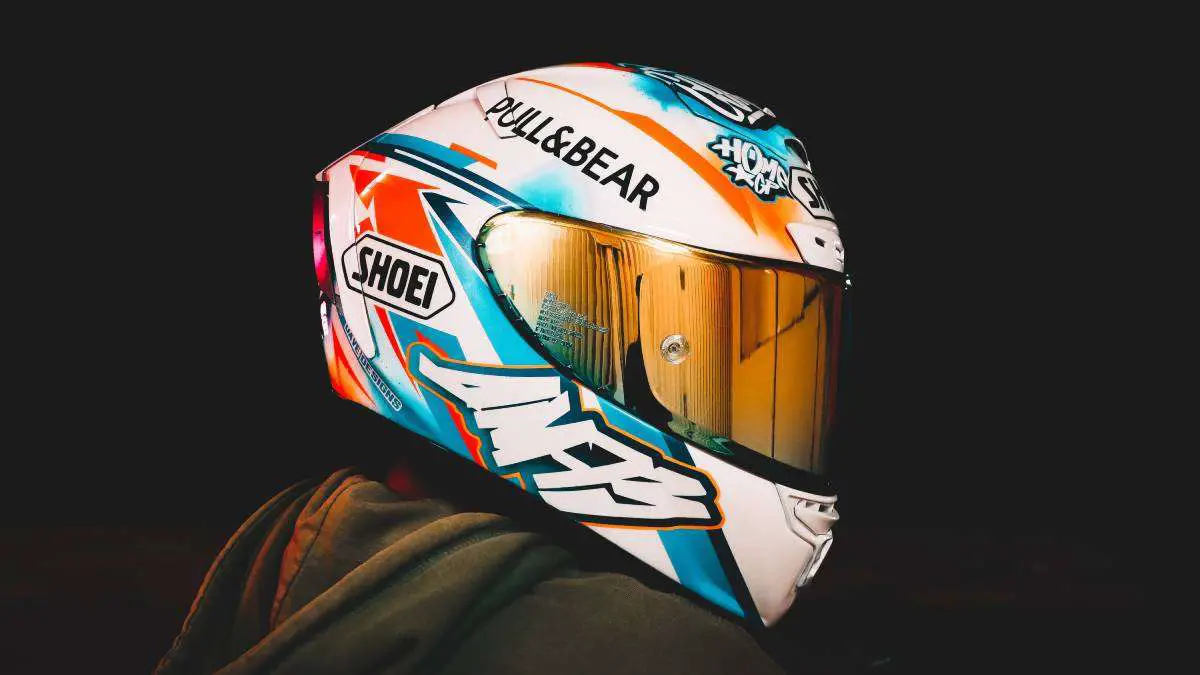
It’s rarely mentioned when discussing the motorcycle culture, but motorcyclists are surprisingly high up on the list of people who care a lot about their outfits. They’re pretty picky about their helmet and jacket matching the color schemes of their bikes. Custom paint jobs, however, can be prohibitively expensive. Wrapping a helmet, though, is inexpensive and easy to do yourself.
How do you wrap a motorcycle helmet? In a clean, windless space, remove all removable components and clean the helmet with rubbing alcohol. Roughly cut the vinyl into the needed shapes. leaving an inch or two or all sides. Heat the vinyl in order to stretch it as you apply it, making sure to press out bubbles and creases. Then trim the edges.
There are, of course, many reasons beyond vanity to wrap your motorcycle helmet. You may need to customize your headgear to display team logos or other identifiers. Also, because your helmet covers your face, you may want to personalize your helmet so you can be identified, or to rep your favorite band, brand, or just avoid looking bland. Wrapping it yourself saves money.
Can You Wrap a Motorcycle Helmet?

The skills needed in order to wrap a motorcycle are not complex or specialized. What you need most are
- Patience
- Confidence.
A lot of people are intimidated by the idea of wrapping their own motorcycle helmet because they assume it is an art or skill possessed by only a few specialists. Many of us have tried our hand at gift wrapping presents and been disappointed that the result is not as crisp and clean as those items wrapped by the people in the gift wrapping booth at the department store.
We’ve all put new tabs on our license plates and, despite our best efforts, have failed to align it perfectly to cover last year’s stickers. We’re afraid because we know that if we leave a crease or air bubble, or fail to completely tuck in the edges, it will be all we (or anyone else) will be able to see when we look at our finished work. Helmets have a lot of curves. The stakes seem too high.
In reality, you can wrap a motorcycle helmet yourself. As long as you properly prepare your equipment and workstation, and take your time at every step, you can pull it off. The key to success is patience.
Step 1. Choose a Quality Wrap
The first step in performing a high quality finished project is selecting a high quality product to begin with. There are many options of wrap available but choosing a cheap version may cost you in:
- Time
- Hassle
- Final results
The harder the wrap is to apply, the more frustrating it will be, the longer it will take, and the less likely it is that you will be satisfied with the final results.
The 1080 wrap series by 3M is regarded by many to be the best product available for many reasons. 3M 080 wrap is recommended because:
- Ready to use directly out of the box,
- Has a good balance of flexibility versus rigidity to ensure easy handling,
- Semi-permeable, so that air bubbles can escape without puncturing
- Has pressure activated adhesive, so you can reposition if needed
There are plenty of colors and patterns available. One of the benefits of wraps is that they are extremely customizable and offer detailed images to be emblazoned on your helmet. No matter if you need:
- Race numbers
- Team logo
- Favorite brand
You can also have an enlarged picture of your own head wrapped onto your motorcycle helmet. Just make sure it is printed on a quality wrap.
Step 2. Prepare your Workstation
You’ll need a clean workstation in order to wrap your motorcycle helmet. Clear a tabletop so you have plenty of open space to lay out your equipment and materials, so everything is within easy reach, but nothing is in the way. There needs to be an electrical outlet nearby so you can plug in your heating tool.
Your workstation will need adequate light so you can clearly see any imperfections in the vinyl, such as creases or air bubbles. It will also need to be clean, as any dirt or debris that gets between the helmet and the vinyl will not only compromise the quality of the bond, but it will also be visible as a bump in the finish of the final product.
It is usually recommended that your workstation is indoors, since you also want it to be free from gust of wind, which could make it difficult to control the sheets of vinyl as you attempt to apply them. If you are in doors, beware of fans that can produce the same hazard.
Because your helmet is round and you will need to manipulate into various positions in order to properly cover every surface properly, you will need a way to hold it in position securely. If you have a friend who can hold it for you that would be best. If not, a bowl or similar support will work. You need to be able use both hands to heat and stretch the vinyl.
Step 3. Gather the Tools Needed
Once you begin wrapping your motorcycle helmet, you’ll need all of the necessary tools within easy reach. Often you will be holding a loose flap or vinyl in one hand and need to grab your heat gun to loosen it up so you can stretch it, then grab your edger to work out the air bubbles. If these tools are not within your reach when you need them, you risk botching the entire job.
Before you begin wrapping your motorcycle, make sure you have the following tools at hand:
- Screwdrivers,
- Soapy water,
- Rubbing alcohol,
- Lint free cloth,
- Heat gun – or a decent hair dryer,
- Edging tool – a flat edged item like a credit card that is slightly pliable, preferably with a felt edge,
- Knifeless tape (optional), and
- Hobby knife or razor blade.
If you plan to use the technique for wrapping your helmet with a single piece of vinyl discussed below you will also need some sort of frame or bucket as well.
Step 4. Remove Hardware (heat if needed)
A motorcycle is rarely one continuous unit. There are several components, such as the visor, vent covers, and related hardware that should be removed before attempting to wrap your helmet. Removing these items will make the job easier, in the same way that removing trim and outlet covers before painting a wall makes the process easier and the final product cleaner.
- Some elements will be easy to remove without tools. Visors, for example, often have tabs that can be pushed to allow for easy release.
- Some of the hardware may snap in place and can be removed by applying gentile force. Some components will be screwed in place and require a screwdriver in order to be properly removed.
- Some components, such as vent covers, may be glued in place. Applying heat may help loosen the glue so that the part can be pulled off. These parts will need to be re-glued when the wrap is complete.
The idea is to create as flat a base surface as possible, in order to reduce the amount of corners and aspects you need to work around when applying the vinyl wrap. If it’s possible to remove, you should remove it. Even if you plan to cover the piece with the wrap as well, it will be easier and produce a better result if you wrap the components separately.
Step 5. Fill Any Scratches
The wrap you are applying to your motorcycle helmet is not very thick and is designed to follow the contours of your headgear. As such, it will also follow the contours of any defects on the helmet’s surface. Just as a grain of sand will be visible as a bump in the finish, if a scratch is deep enough, it will be visible when the wrap clings to the surface of the helmet.
If your helmet has any deep scratches or gouges, therefore, you will want to fill them with:
- Plastic,
- Fiberglass
- Filling compound
Once done allow it to fully harden before smoothing it out and continuing.
Step 6. Clean the Helmet’s Surface
As already mentioned, it’s important that the helmet is free from any debris that will show up under the surface of the wrap. It’s also important that the helmet’s surface is free of any grease or other contaminants that would inhibit the binding property of the wrap’s adhesive.
Wipe down your helmet to remove debris. Then wash with a solution of warm, soapy water. Some areas, especially where the helmet meets the hardware components you removed, may require heavy scrubbing with a stiff-bristled brush. Repeat as needed. Once the helmet is as clean as it can be, wipe it again with a lint-free cloth and isopropyl rubbing alcohol.
Allow the helmet to fully dry before proceeding.
Step 7. Make a Rough Cut of the Vinyl
If your motorcycle helmet is a simple, uniform shape, such as a half army helmet design, you may be able to wrap it with one continuous piece of vinyl. If this is the case, you may benefit from the tips discussed in the “Applying Wrap in 1 Piece” section below.
More likely, however, your helmet has many different planes that form its shape. If this is the case, you will want to apply the wrap in sections, as opposed to all at once. This will reduce the amount of stretching around sharp angles the vinyl needs to do.
Cut the vinyl roughly in the shape of the section you wish to cover. Cut the piece in the basic shape of the section but allow for it to be an inch or two longer in all dimensions. This will ensure coverage and give an adequate hold for you to pull and stretch the heated vinyl during application.
If you are covering your helmet with solid colors or patterns, cutting the vinyl into sections shouldn’t cause any problem. If you have had a specific design or logo printed, you will need to have taken care that it fits within a specific section of the helmet, or that the design has been printed on overlapping sheets to allow for the image to be applied in sections.
Step 8. Apply Knifeless Tape (Optional)
If you are applying the wrap in sections, you will want clean edges so that the sections come together cleanly without overlap. Or, if you are using different colored vinyl sheets to create a pattern of your own, you will want cleanly cut edges to define the pattern.
After a section is applied, it will need to be trimmed to remove the excess vinyl that was used as a handle to stretch during application. You can simply cut it with a razor, but there is a chance that you may cut too deeply and damage your helmet. Knifeless tape allows you to cut through the vinyl without this risk
Apply knifeless tape before applying the vinyl wrap. When a section has been secured, you will then pull the thread of the knifeless tape up through the vinyl. This thread is designed to cut the wrap as it is pulled out. Then the rest of the tape can be removed and the edge of the section of wrap can be secured.
Step 9. Heat the Wrap
It is now the moment of truth. It’s time to actually apply the wrap to the helmet. Peel the protective backing off the sticky side of the vinyl and place its center in the middle of the section you are covering. Take care to lay it flat and evenly so that there are no creases or air bubbles.
You will then work your way out from the center, applying the vinyl wrap as you go. Because the helmet’s surface is curved instead of flat like the sheet of vinyl, you will need to heat the wrap so that it can stretch to fit to form.
A heat gun is preferred because it can be set to a desired temperature and has a blower to apply the heat evenly. If you don’t have a heat gun, you can use a hair dryer, as long as you can use it to direct and control the heat.
It doesn’t take much heat to override the vinyl’s thermal material memory which holds its shape. Typically, you can keep your heat gun in a relatively low setting. If the heat is too hot for your fingers, it will be too hot and could possibly burn the wrap.
Step 10. Stretch and Apply
Once heated, you can stretch the vinyl and pull it down onto the helmet. In this step it pays to have two hands free so you can heat the wrap and then pull it evenly in two directions so that it stretches evenly.
This step will be repeated over and over since you will want to secure only a small amount of wrap at a time in order to ensure that it is applied evenly without creases or air bubbles.
Step 11. Work Out the Air Bubbles (pin prick if needed)
As you are methodically applying newly heated sections of vinyl out from the center of the section, you will need to apply pressure to both activate the adhesive and press out any air bubbles so that it is applied smoothly. A flat, flexible edge, like that of a credit card, is perfect for this purpose. Some kits include such a tool with a felt edge, which is even better.
As long as you take your time and press out from the center as you go, the air bubbles will simply exit along the unsecured edge. If you get ahead of yourself and wind up with a bubble of air that you cannot push out to the edge, simply poke a pinprick into the wrap, heat the area with your heat gun, and press it flat with your edger.
Step 12. Secure the Edges
Work your way out from the center of the section like this until you reach the edges of the section. You will have excess vinyl that hangs beyond the edges of the section. Only press the wrap firmly to the edges of the section so as not to stick to the rest of the helmet.
Step 13. Trim the Edges
If you applied knifeless tape, you could trim the edge by simply pulling the embedded thread up through the vinyl. If you didn’t use knifeless tape, simply run your hobby knife or razor blade along the boundaries of the section, taking care to only press deeply enough to cut the wrap and not the helmet. The excess vinyl can be thrown way.
Repeat this process until all sections of the helmet are covered.
Step 14. Heat Seal
Once the helmet is completely wrapped, you’ll want to heat seal the vinyl to establish the new thermal material memory in the shape of the helmet so that it does not come unsecured from recesses and curves on some particularly hot day.
Set your heat gun to 80 to 90 degrees Celsius and apply an even heat over the entire surface of the wrap. It is best to apply the heat gradually, so the temperature doesn’t fluctuate too rapidly and cause shrinkage of the wrap.
Step 15. Reattach Hardware
Once the wrap has cooled, you can reattach the visor and vents and enjoy your motorcycle helmet’s new look/
Applying Wrap in 1 Piece
If your helmet is a relatively fluid shape, such as that of a half army helmet, you can apply the vinyl wrap in one piece. For this method, you will secure the vinyl flat over the opening of a barrel or within a large picture frame. A lightsource behind the wrap will show the design so you can align the image properly.
Heat the entire surface of the vinyl evenly until it begins to droop. In one swift motion, push your helmet through the plane of the stretched vinyl. Because it is heated, the wrap will stretch to fit the helmet as it pushes through.
Simply cut the wrap around the edge of the helmet, leaving room to allow for further stretching if needed. Reheat if necessary, to push the wrap to the edges of the helmet and trim.


 Affordable, Beautiful DIY Vinyl Wraps For Your Motorcycle
  Sticky And Stinky: How To Clean Motorcycle Helmets
  Can You Wear Makeup with a Motorcycle Helmet?
  Why Your Bike Helmet Looks Huge (and What to Do)