Contents
Zen And The Art Of Motorcycle Maintenance is one of my favorite books (go figure).
One of the passages from the book is as follows:
“The test of the machine is the satisfaction it gives you. There isn’t any other test. If the machine produces tranquility it’s right. If it disturbs you it’s wrong until either the machine or your mind is changed.”
When comparing models, people argue about many things. The bike’s acceleration, engine efficiency, and how much fuel it burns through.
But the most important metric of comparison for a motorcycle (as with everything else) is the satisfaction it gives you.
Going by the title of this article that brought you here- one of my major pet peeves is aesthetic in nature. And pet peeves are inversely proportional to the satisfaction one derives.
My friend has a saying: a KTM isn’t reliable until both sides are scratched.
That saying is a testament towards the damage the average motorcycle accrues. And the average motorcycle accrues a lot of damage.
Getting lowsided, some idiot scraping by your bike at the service station, the odd teenager who gets a kick out of keying parked vehicles, you know the drill.
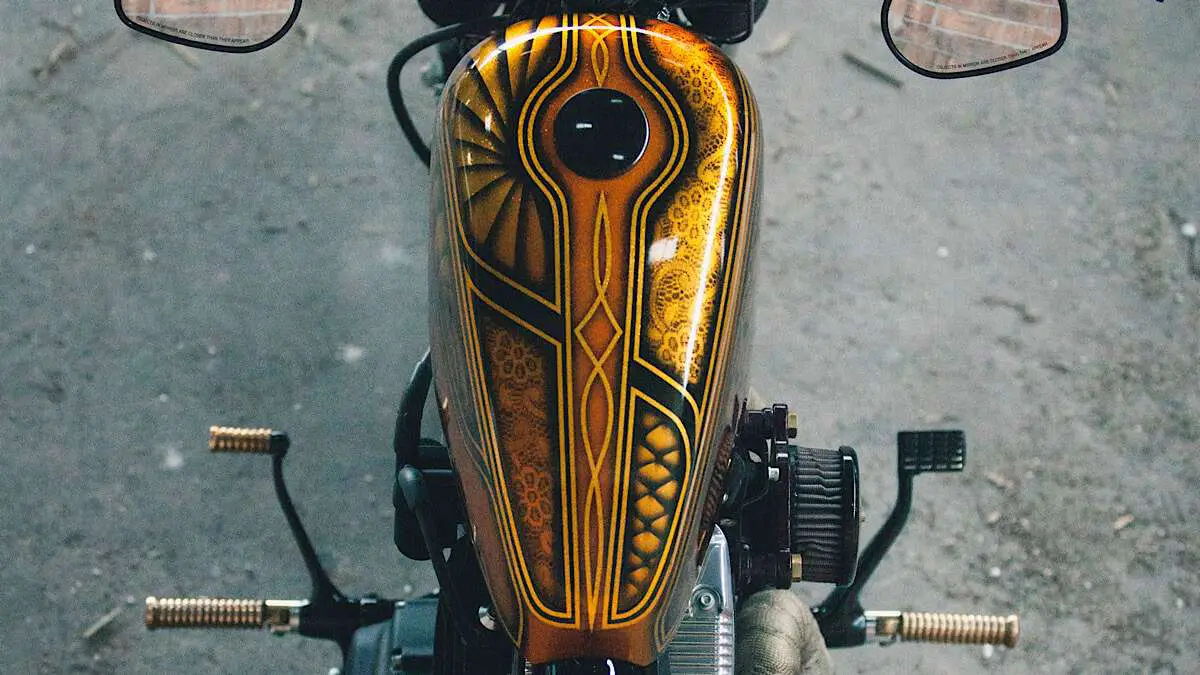
The only way you can rectify this is by either painting or wrapping your motorcycle
Painting does the job well, but it comes with a couple caveats.
It’ll cost you more because you have to get your own air compressor and paint gun. Especially if you’re doing more than one color.
If you get it done professionally, it’s going to cost you even more.
Furthermore, any scratches you get after the paint job are going to have to wait to get filled in until your next paint job again.
Vinyl wraps, on the other hand are much cheaper to do on your own.
While more time-consuming, the only cost you require is for buying the wrap itself and a heating appliance. A high-quality graphics kit has a finish that looks just as good as a professional grade paint job.
Moreover, any scratches caused afterward reside on the wrap only – not the paint underneath.
For this article, we researched the marketplace for the best custom design vinyl bike wraps and narrowed it down to three, according to their durability, material, appearance and application experience.
The Best Motorcycle Wraps For 2020
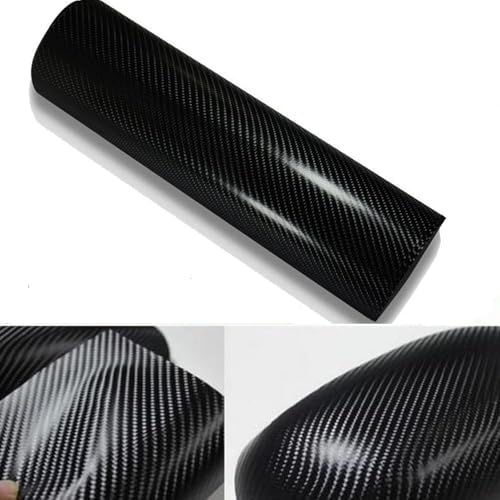
DIYAH 4D Black Carbon Fiber Vinyl Wrap with Air Release Bubble
Weight: 0.25-2.9 Pounds
Dimensions: (1FT x 5FT), (2FT x 5FT)… (12FT x 5FT)
Package Dimensions: 59.9 x 1.8 x 1.8 inches
Indoor Life: 8 years
Outdoor Life: 5 years
Thickness: 0.19 millimetres
Material:
- Carbon Fiber Design
- 4-dimensional aesthetic
- Waterproof
- Stain-resistant
- UV Resistant
- Matte Black
Application:
- Design leaves no space for air bubbles/pockets
- Self-adhesive
- Flexible
- Air bubble free
- Application can be aided with heat gun
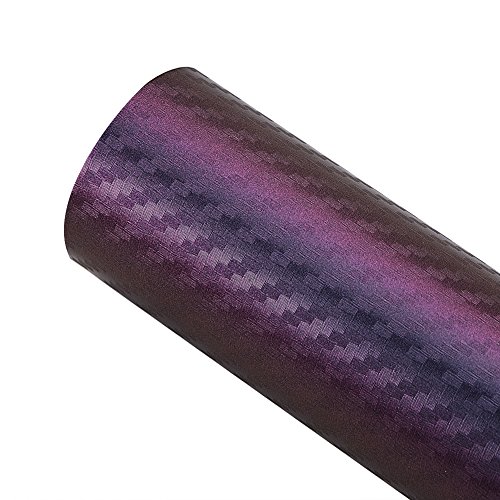
ATMOMO Purple and Blue Car Chameleon Vinyl Wrap
Weight: 0.4-2.9 Pounds
Dimensions: (1 FT x 5 FT) … (5 FT x 5FT)
Package Dimensions: 59.9 x 1.8 x 1.8 inches
Indoor Life: 9 years
Outdoor Life: 6 years
Thickness: 0.18 millimetres
Material:
- Polyvinyl Chloride Design
- Waterproof
- UV Protected
Application:
- Easy to stretch
- Self-adhesive
- Easy removal (will not cause damage to paint underneath)
- Application can be aided with heat gun
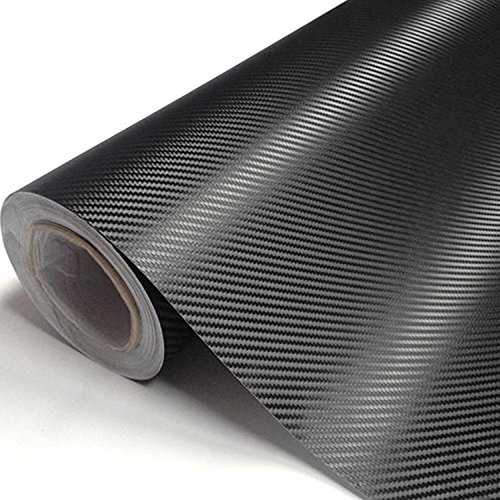
DIYAH 3D Black Carbon Fiber Film Twill Weave Vinyl Sheet Roll
Weight: 0.2625-2.35 Pounds
Dimensions: (1FT x 5FT), (2FT x 5FT)… (10FT x 5FT)
Package Dimensions: 12.2 x 0.9 x 0.9 inches
Indoor Life: 8 years
Outdoor Life: 5 years
Thickness: 0.38 millimetres
Material:
- Carbon Fiber Design
- 3-dimensional aesthetic
- Waterproof
- UV Resistant
- Matte Black
Application:
- Self-adhesive
- Easy to stretch
- Air bubble free
- Application can be aided with heat gun
How To Wrap A Motorcycle Using Vinyl
i) Disassemble into individual parts
Disassemble your bike into individual parts to make the spreading of the wrapping film easier- this includes the battery, front end, fenders, rear assembly, and everything else needing wrapping with vinyl.
ii) Clean thoroughly
Any particles present on the surface will be obstacles to the adhesiveness of the wrap.
Clean the parts with a hot, soaked soft cloth (soap recommended).
After it dries off completely, use isopropyl alcohol (available at most department stores) to remove all the stuff wiping wouldn’t cover.
iii) Set up an area conducive to wrapping
Ensure you have the right set up for wrapping the motorcycle parts.
A sturdy table/workbench , decent lighting and a room free of air/dust flow is absolutely important to do a good job. It also needs to be within reach of electrical outlets for accessories like heat guns.
iv) Wrapping
Feel free to cut out a section with a larger surface area to allow for a margin of error, in case you screw up.
Start by applying the wrap to the flattest area of the body, and work your way towards the rest of the body by using it as a base.
Keep in mind: the adhesive mechanism is pressure activated. So once the wrap has been roughly applied, apply pressure starting at the flattest area, in a similar manner.
v) Heat Manipulation
The material makeup of vinyl makes its surface area responsive to temperature. This means that the higher the temperature, larger it expands, and vice-versa. Using a heating appliance like a heat gun or hair dryer, apply heat on the rough edges and contours of the wrap sticking out, for a fine finish.
Please note that the list above is a very condensed version of a process that takes a lot of time, effort and attention to detail.
We highly recommend you watch these videos for a detailed approach towards vinyl wrapping.
Conclusion
By now you know about why vinyl is better than paint, the criteria to select the best custom bike wraps, and the DIY of wrapping your motorcycle.
And why vinyl wraps are permanent paint jobs that can be removed and reapplied at any time. With all the benefits for a fraction of the cost.
Kindly take your time to wrap your head around the sentence above.
(Pun intended.)

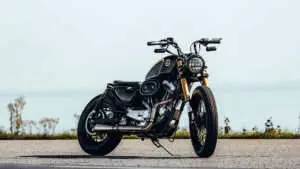 The Best Bobber Motorcycle Kits – Why Are Bobbers So Beautiful?
  Vnetphone V6 Bluetooth – Remarkably Affordable Intercom
  How To Install An Intercom In Your Motorcycle Helmet
  How To Record A Memorable Motorcycle Video Montage